안녕하세요, 백엔드 개발자로 근무하다 프론트가 어떻게 돌아가는지는 알고 협업을 하는게 좋지 않을까? 라는 생각이 문득 들어 리액트 스터디를 시작하게 되었습니다. JS에 아직 익숙하지도 않고, 프론트라곤 angular, php만 살짝 건드려본 백엔드 개발자의 프론트 삽질기(흑역사)를 공유하기 위해 블로그에 기록을 시작하게 되었습니다.
공부하는 단계다 보니 정확하지 않은 정보를 올릴 수도 있어 따끔한 지적과 조언을 소중히 귀담아 듣겠습니다.
개발환경은 Mac os Big Sur, Apple M1 Sillicon 입니다.
다음 명령어를 사용해 node를 설치해 줍니다.
brew install node
다음 명령어를 사용해 yarn을 설치해 줍니다.
npm install --global yarn
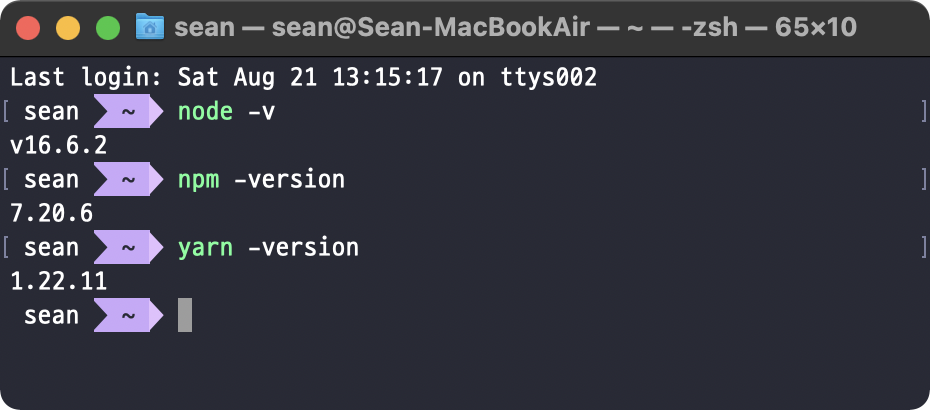
설치된 node, npm, yarn의 버전은 다음과 같습니다.

저는 zshell을 사용하고 있기 때문에 .zshrc에 다음 환경변수를 추가합니다.
export PATH="$(yarn global bin):$PATH"
create-react-app을 설치합니다.
yarn global add create-react-app
create-react-app을 사용해 hello-react 프로젝트를 생성합니다.
create-react-app hello-react
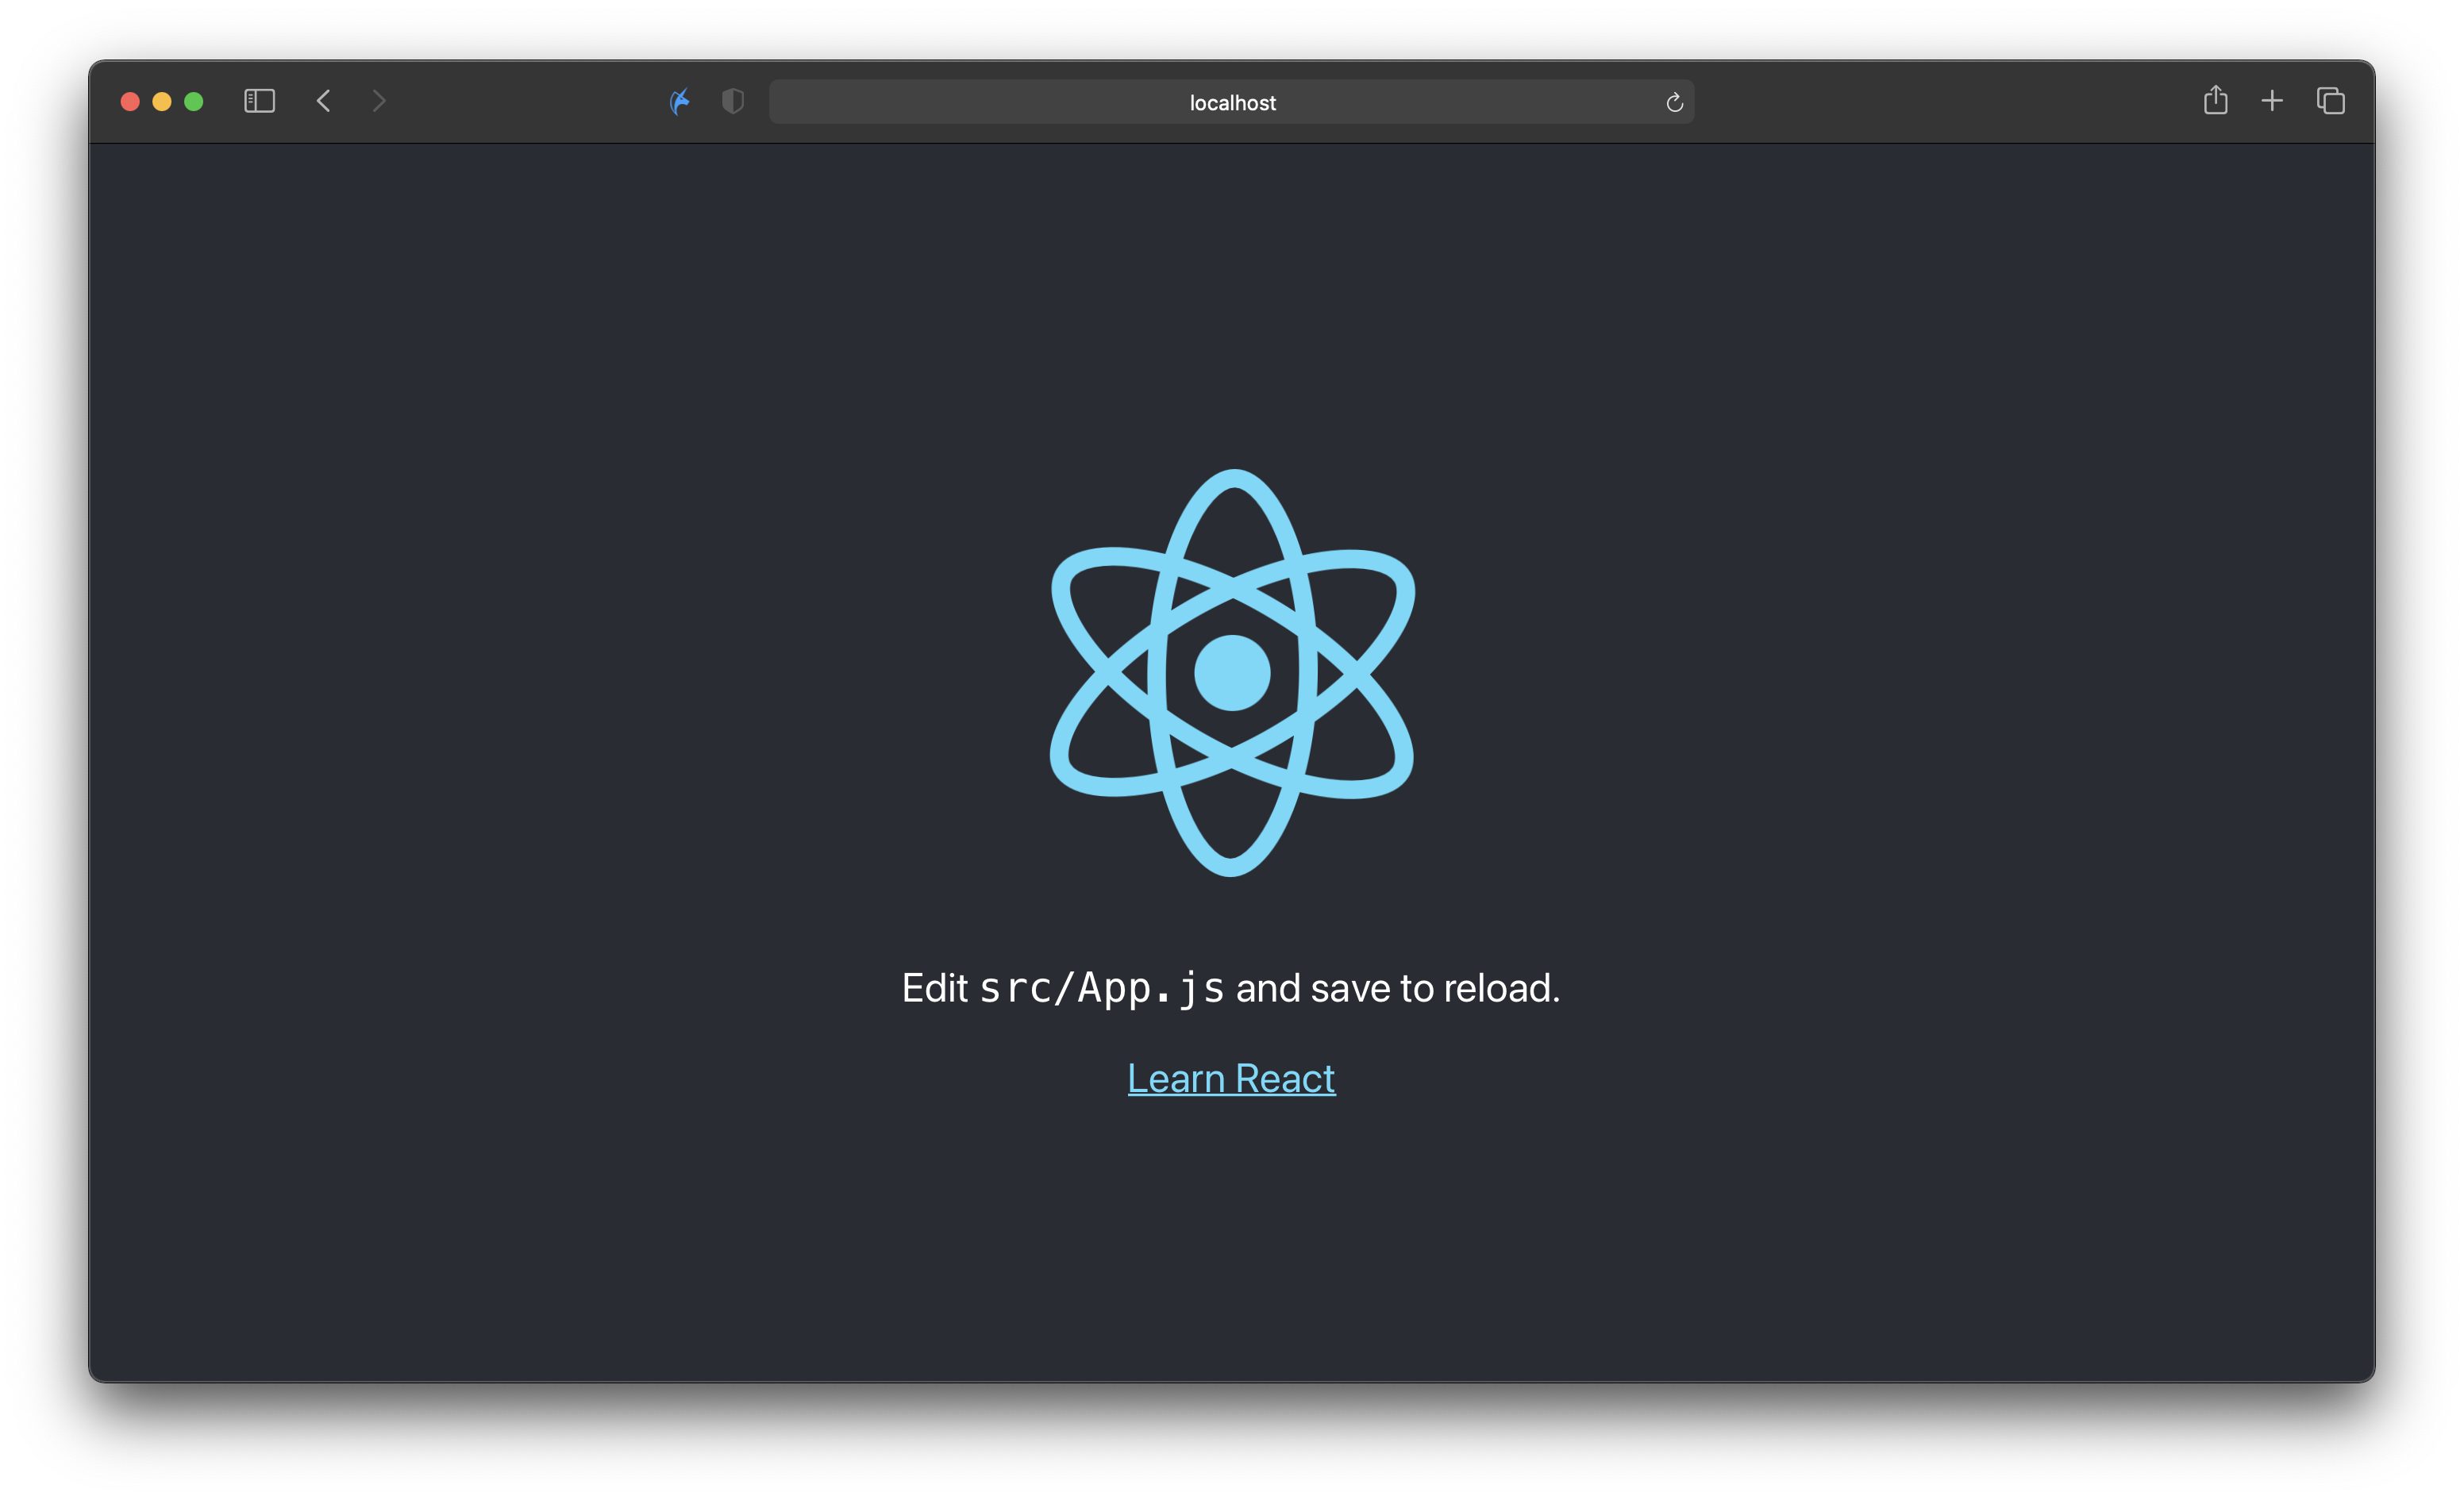
cd hello-react, yarn start 명령어를 차례대로 입력하여 react 프로젝트를 구동해줍니다.

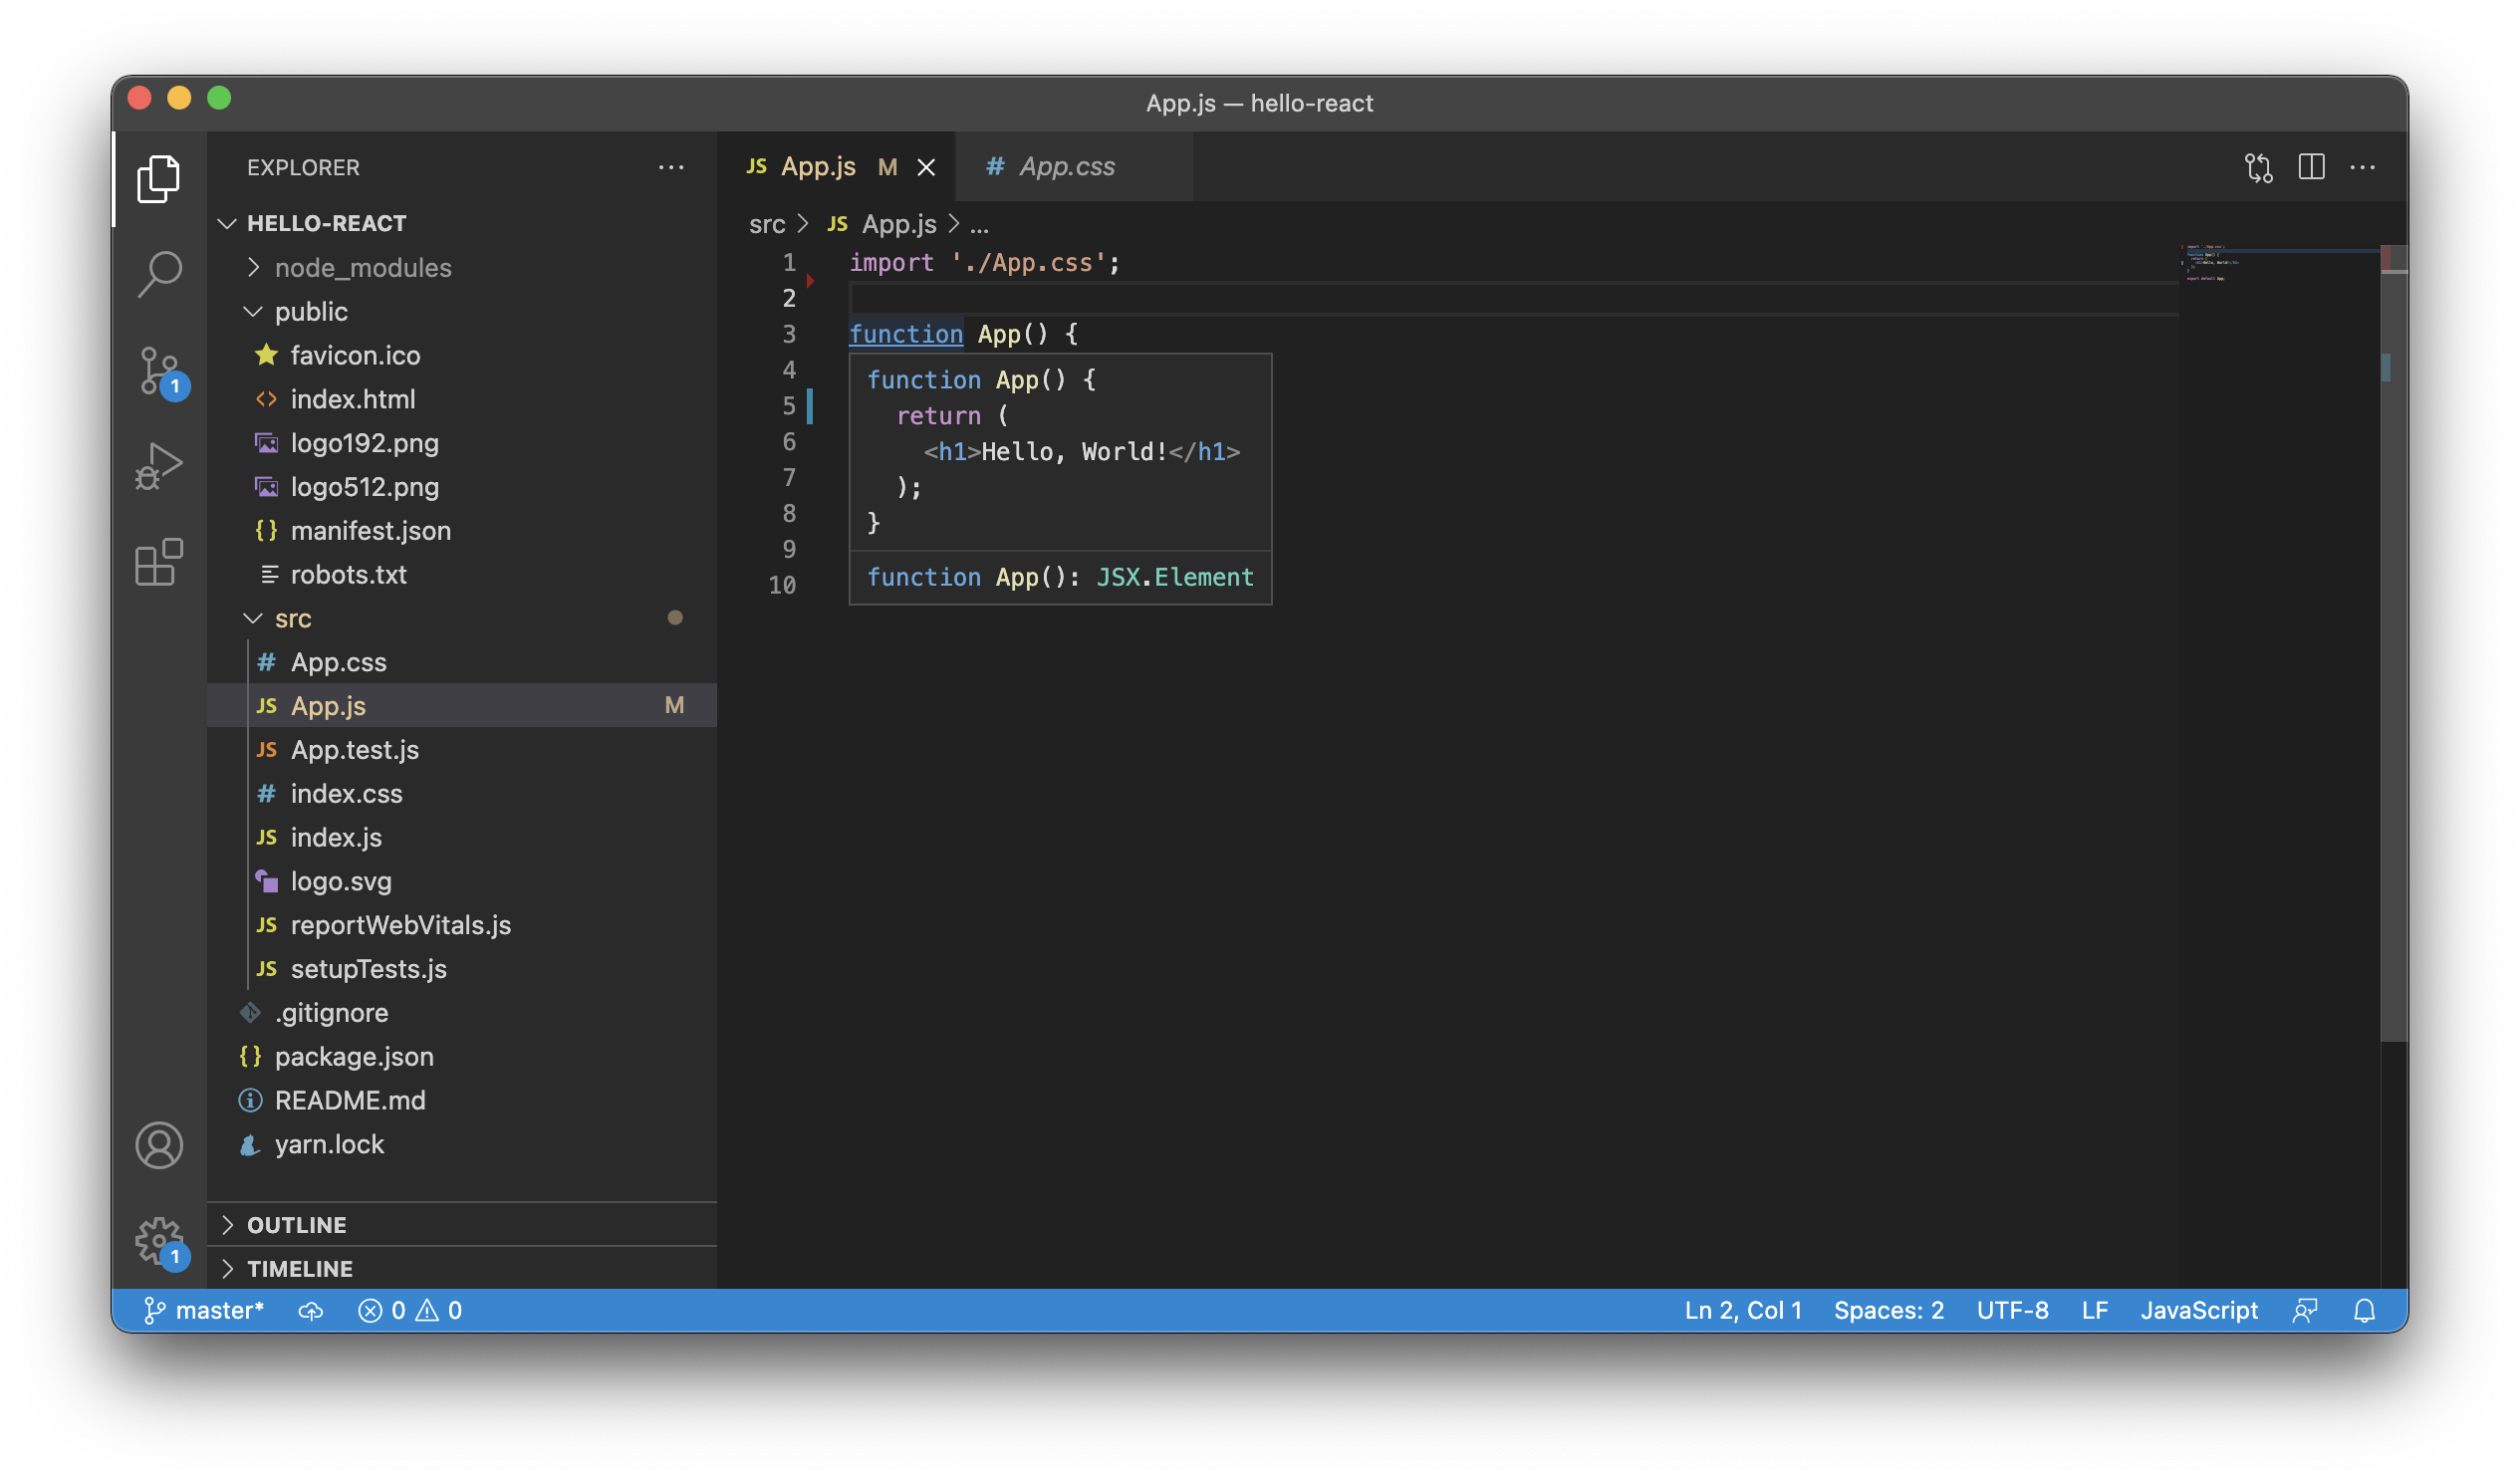
VS code로 프로젝트를 열어 App.js의 코드를 확인합니다.
import logo from './logo.svg';
import './App.css';

function App() {
  return (
    <div className="App">
      <header className="App-header">
        <img src={logo} className="App-logo" alt="logo" />
        <p>
          Edit <code>src/App.js</code> and save to reload.
        </p>
        <a
          className="App-link"
          href="https://reactjs.org"
          target="_blank"
          rel="noopener noreferrer"
        >
          Learn React
        </a>
      </header>
    </div>
  );
}

export default App;
저는 Veloport님의 블로그를 따라하며 진도를 빼고 있는데, App.js의 생김새가 좀 많이 다릅니다.
누구든지 하는 리액트 3편: JSX | VELOPERT.LOG
이 튜토리얼은 10편으로 이뤄진 시리즈입니다. 이전 / 다음 편을 확인하시려면 목차를 확인하세요. 리액트 컴포넌트에 대하여 조금 더 자세히 알아봅시다! 컴포넌트 파일 파헤치기 이전에 만든
velopert.com
Class가 아닌 함수가 자리하고 있습니다.
제 create-react-app의 버전은 4.0.3 입니다.
create-react-app -V
살짝 구글링을 해 보니 React 16.8 version에서 hooks 라는 개념이 추가되며 리액트에서 stateful한 functional component가 대부분의 상황에서 Class를 대체할 수 있도록 변화했다는 내용이 눈에 띕니다.
How to create React.js app without a function in App.js
I just finish typing npx create react app to create a react app but for some reason my App.js is a function not a class eg) result: function App() { return () I want something like: Class app
stackoverflow.com
Introducing Hooks – React
A JavaScript library for building user interfaces
reactjs.org
그럼 새로 도입된 녀석이니만큼 용감하게 functional component로 리액트 따라가기를 시도해 봅니다.
App.js를 다음과 같이 수정해 봅니다.
import './App.css';

function App() {
  return (
    <h1>Hello, World!</h1>
  );
}

export default App;

App() 함수는 인자를 받지 않고, JSX elements를 반환합니다. 단순한 JavaScript 함수이고, 유효한 React Component 입니다.
이 때, 파일 최상단에 있어야 할 한 줄이 없는걸 확인할 수 있습니다.
import React, { Component } from 'react';
이는 React 17버전부터 수정된 JSX transform의 영향입니다.
Introducing the New JSX Transform – React Blog
Although React 17 doesn’t contain new features, it will provide support for a new version of the JSX transform. In this post, we will describe what it is and how to try it. What’s a JSX Transform? Browsers don’t understand JSX out of the box, so most
reactjs.org
일반적으로 웹 브라우저는 우리가 작성한 JSX 코드를 그대로 해석할 수 없습니다. 따라서 Babel이나 TypeScript 등의 컴파일러 (정확히는 소스 대 소스 Transpiler)를 통해 일반적인 JavaScript 소스로 변환됩니다. 이 때, JSX를 사용했을 때, React가 명시적으로 import되지 않아도 Babel이 알아서 Transform을 해 주는 기능이 추가되었습니다. 따라서 함수 컴포넌트를 작성할 때에는 명시적으로 React를 import해 줄 필요가 없게 된 것입니다.
그리고 우리가 작성한 컴포넌트를 마지막 줄의 export 문을 통하여 다른 컴포넌트에서 사용할 수 있도록 내보내 줍니다.
이제 index.js 파일을 봅니다.
import React from 'react';
import ReactDOM from 'react-dom';
import './index.css';
import App from './App';
import reportWebVitals from './reportWebVitals';

ReactDOM.render(
  <React.StrictMode>
    <App />
  </React.StrictMode>,
  document.getElementById('root')
);

// If you want to start measuring performance in your app, pass a function
// to log results (for example: reportWebVitals(console.log))
// or send to an analytics endpoint. Learn more: https://bit.ly/CRA-vitals
reportWebVitals();
여기서는 ReactDOM.render을 통해 App 컴포넌트를 id가 root인 DOM을 찾아서 그 안에 그리도록 설정해 줍니다.
이 때, React.StrictMode는 개발 모드에만 적용되는 설정으로, 어플리케이션 내의 잠재적인 문제를 분석할 때 사용되는 도구입니다.
삭제해도 동작에는 영향을 미치지 않습니다.
Strict 모드 – React
A JavaScript library for building user interfaces
ko.reactjs.org
그리고 id가 root인 DOM은 index.html에서 확인할 수 있습니다.
<!DOCTYPE html>
<html lang="en">
  <head>
    <meta charset="utf-8" />
    <link rel="icon" href="%PUBLIC_URL%/favicon.ico" />
    <meta name="viewport" content="width=device-width, initial-scale=1" />
    <meta name="theme-color" content="#000000" />
    <meta
      name="description"
      content="Web site created using create-react-app"
    />
    <link rel="apple-touch-icon" href="%PUBLIC_URL%/logo192.png" />
    <!--
      manifest.json provides metadata used when your web app is installed on a
      user's mobile device or desktop. See https://developers.google.com/web/fundamentals/web-app-manifest/
    -->
    <link rel="manifest" href="%PUBLIC_URL%/manifest.json" />
    <!--
      Notice the use of %PUBLIC_URL% in the tags above.
      It will be replaced with the URL of the `public` folder during the build.
      Only files inside the `public` folder can be referenced from the HTML.

      Unlike "/favicon.ico" or "favicon.ico", "%PUBLIC_URL%/favicon.ico" will
      work correctly both with client-side routing and a non-root public URL.
      Learn how to configure a non-root public URL by running `npm run build`.
    -->
    <title>React App</title>
  </head>
  <body>
    <noscript>You need to enable JavaScript to run this app.</noscript>
    <div id="root"></div>
    <!--
      This HTML file is a template.
      If you open it directly in the browser, you will see an empty page.

      You can add webfonts, meta tags, or analytics to this file.
      The build step will place the bundled scripts into the <body> tag.

      To begin the development, run `npm start` or `yarn start`.
      To create a production bundle, use `npm run build` or `yarn build`.
    -->
  </body>
</html>
body 태그 안에 id가 root인 div 태그를 확인할 수 있습니다. 저 위치에 Hello, World! 가 들어가게 되는 겁니다.
실제로 컴포넌트가 어디로 들어갔는지 동작을 확인하고 싶다면 Chrome에서 React Developer Tools를 설치한 다음, 개발자 도구 -> Components 를 사용하여 확인해 볼 수 있습니다.
React Developer Tools
Adds React debugging tools to the Chrome Developer Tools. Created from revision 1d2528097 on 8/16/2021.
chrome.google.com

'Tech > React' 카테고리의 다른 글
| 프론트 입문 리액트 삽질기 6 - Material UI 입혀보기 (0) | 2021.09.13 |
|---|---|
| 프론트 입문 리액트 삽질기 5 - 배열을 활용한 컴포넌트 수정, 삭제 (0) | 2021.08.29 |
| 프론트 입문 리액트 삽질기 4 - 배열을 활용한 컴포넌트 생성 (0) | 2021.08.28 |
| 프론트 입문 리액트 삽질기 3 - Effect Hook으로 Lifecycle API 동작 구현하기 (0) | 2021.08.24 |
| 프론트 입문 리액트 삽질기 2 - Props, State Hook (0) | 2021.08.22 |


